Pattern Design

Tailor Fit Dress For Wilde Imagination Amber/Ellowyne

I had a pretty blue and white print cotton fabric that was just calling out to become a summery dress for one of my dolls. My Essential Amber graciously and patiently helped me draft a pattern, and sat through a few hours of fittings until it was just right.

Amber didn't realize she doesn't get to keep this dress, as it is now listed on eBay.  I'm sure she wants to tell me what she thinks about that, but is remaining silent in hopes of getting a new dress of her own soon.  :D

The auction listing is here:

http://cgi.ebay.com/ws/eBayISAPI.dll?ViewItem&item=300762145176&ssPageName=STRK:MESE:IT

The dress also turned out to fit well on Tonner's new Judy doll with the starlet body.  I was surprised by this, only because I expected the hips on Amber to be narrower than the hips on the starlet body.  But both fit along the bustline well, and draped on the hips the right way.

I had to keep adding snaps to the front bodice to prevent "wardrobe malfunctions", but in the end it just enhanced the fit.  I also gathered up the shoulder straps to enhance the bodice, especially the low scooping back.

I have to admit I'm proud of this dress, mostly because I did it without any pattern at all.  It also didn't take as long as I thought it would, so somewhere along the line I've started to get a better feel at doll dressmaking.  I will definitely be custom making more dresses for my various dolls in the near future!

Just don't tell the "models" that they probably won't get to keep their dresses, either... :D


Black And White Dress

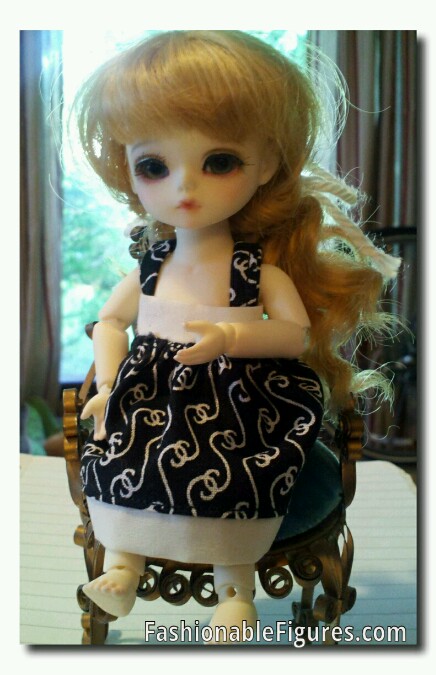
My patient LeekeWorld Rainy doll models a long overdue new dress. I wasn't sure the black and cream would suit her, but now that she's wearing it I am very happy with how it looks on her.

This is a simple series of rectangles folded, pressed, and sewn together. I checked the fit several times so it would fit Rainy specifically.

Now that I have the basic idea down I'll be making a lot more so all my resin family can have a nice new sundress!

Keeping the dolls appeased with a new hat

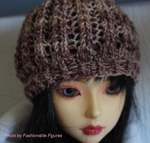
Click to enlargeI love knitting hats, both for humans and dolls.  It's one thing I don't need a pattern for, and can test out yarn and stitches.

In this case I'm also using up a bit of the leftover yarn from my socks. And appeasing my demanding dolls, who were none too happy to see that I knit myself a pair of socks before something for them.  This is a small offering, but I've been told it will do for now.

These were knit on my size 1 (2.25mm) DPN, again with the Tofutsies sock yarn.  The yarn has lots of dark pink and lavender throughout, so it's girly without being so cutesy you just want to vomit.

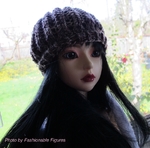
Click to enlargeThis hat was sized for a 22" ball joint doll.  Modeling is my lovely Elfdoll Sooah.  She's an odd girl in that she has the head sculpt from Elfdoll, but that head is on the taller body of a Model Doll from Dollmore.  I love her face sculpt, because even though she's missing her eyelashes (the perils of purchasing used), she's extremely photogenic.

Click to enlargeThis hat probably won't go up for sale anytime soon on Etsy, mostly because I don't have anything else to list along with it yet.  Plus I may have to wait for my little resin family to tire of some of the pieces before I dare to sell them.

I'm not sure what will be next up for a project, but most likely it will be some springy-themed dress for one of my ladies.  The sun is out, the flowers are blooming, and my stash of fabric is threatening to topple and engulf me.  I can't let that happen, since no one would be able to hear my muffled cries for help under the weight.

Keep checking back for more pretty things!

For those interested, the simple pattern for this hat is:

Cast on 48 stitches.  Join for knitting in the round.  (I cast on one extra stitch, and knit 2tog at the beginning of the round.)

*K1 TBL (through back loop), P1; repeat all the way around.  Repeat this row for 5 rows.

Knit 1 row.

Click to enlargeIncrease row:  K3, m1 all the way around.  You should end up with 62 stitches total at the end of the round.

Knit 1 row.

Begin pattern:

     Row 1:  *K2, yo, K2tog; repeat for entire round

     Row 2:  *K2tog, yo, K2; repeat for entire round

Repeat these two rows until the hat is the height you want.  I did approximately 25 rows to get about 4 inches from the cast on edge.

Decrease rows:

     Row 1:  Knit all the way around.

     Row 2:  *K2tog all the way around

Repeat these two rows until you have 9 stitches left.

     I then got down to 3 stitches by K2tog, slipping the completed stitch back onto the left needle, then K2tog again.  I knit this on three active DPNs, so I repeated this on each of the three needles to get down to just 3 live stitches.

Break yarn.  Draw yarn through these last three stitches and pull tight.  Weave in ends.